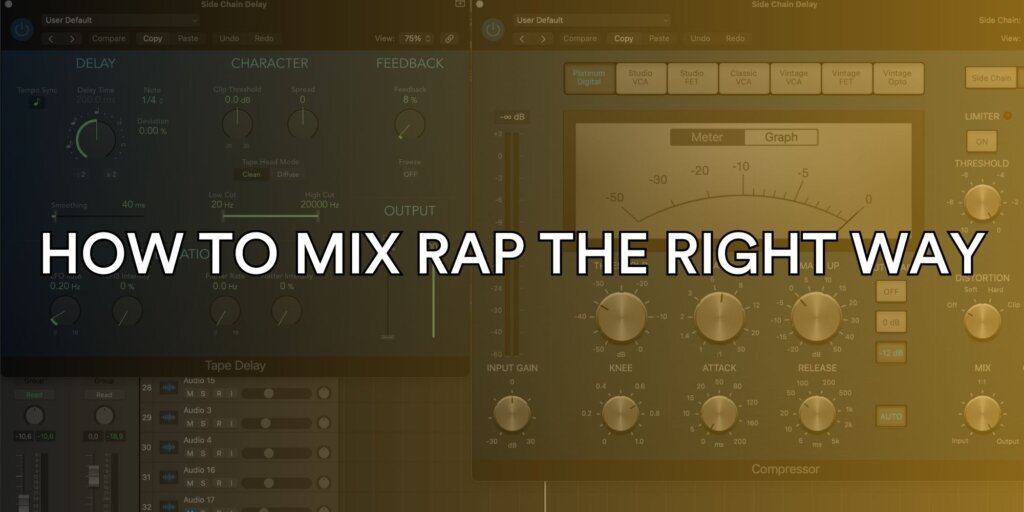
Achieving clean, powerful rap vocals doesn’t require fancy third-party plugins—Logic Pro X’s built-in tools are more than capable. In this guide, we’ll walk you through essential steps to make your rap vocals sound professional using only Logic Pro X’s stock plugins. We’ll also introduce some custom presets to make your workflow even faster and easier.
Step 1: Start with Proper Gain Staging
- Why It’s Important: Clean mixing begins with proper gain staging. This helps avoid distortion and gives you room to work with in your mix.
- How to Do It: Use Logic’s Gain plugin to set your vocal’s input level so it peaks around -6 dB, leaving enough headroom for additional processing.
- Try This: Our Gain Staging Preset for Logic Pro X automatically sets your vocal’s gain to an optimal level, giving you a clean starting point.
Step 2: Use Channel EQ to Remove Mud and Enhance Clarity
- Why It’s Important: Channel EQ allows you to remove muddiness and enhance clarity in your vocal.
- How to Do It: Apply a high-pass filter around 80-100 Hz to remove low-end rumble. Boost slightly around 3-5 kHz for presence and dip around 200-300 Hz to cut muddiness.
- Try This: Our Vocal Clarity EQ Preset is designed with the Channel EQ plugin, optimized for rap vocals to make your voice stand out.
Step 3: Control Dynamics with the Compressor Plugin
- Why It’s Important: Compression evens out vocal dynamics, keeping loud parts under control and bringing quieter parts forward.
- How to Do It: Logic’s Compressor plugin has various models. Try using the “Studio VCA” model with a moderate ratio (e.g., 4:1), a fast attack, and medium release.
- Try This: Our Punchy Vocal Compression Preset is pre-set to work perfectly with the Compressor plugin, adding punch and consistency to rap vocals.
Step 4: Add a De-Esser to Tame Sibilance
- Why It’s Important: Sibilance can be harsh and distracting. A de-esser controls these sharp “s” sounds.
- How to Do It: Use Logic’s DeEsser plugin to target frequencies around 5-8 kHz and reduce harshness.
- Try This: Our De-Esser Preset is customized for rap vocals, allowing you to control sibilance without losing vocal clarity.
Step 5: Add Warmth with Overdrive for Saturation
- Why It’s Important: Saturation adds warmth and character to vocals, making them feel more present.
- How to Do It: Use Logic’s Overdrive plugin at a low level to add subtle harmonics to the vocals.
- Try This: Our Vocal Saturation Preset is designed with Overdrive to add warmth without distorting your vocal.
Step 6: Create Depth with Reverb and Delay
- Why It’s Important: Reverb and delay add depth and space to your vocals, making them feel three-dimensional.
- How to Do It: Logic’s Space Designer for reverb and Delay Designer or Tape Delay for delay can give your vocals the right ambiance. Use reverb subtly and delay sparingly on specific words or phrases.
- Try This: Our Vocal Reverb and Delay Preset uses stock plugins to add depth without overwhelming the clarity of your rap vocals.
Step 7: Use Parallel Compression for Extra Punch
- Why It’s Important: Parallel compression adds intensity without crushing dynamics, making vocals sound powerful and full.
- How to Do It: Send your vocal to a parallel bus, apply heavy compression with the Compressor plugin, and blend it back in with the original track.
- Try This: Our Parallel Compression Preset is set up to add punch using Logic’s stock Compressor, giving your rap vocals that professional edge.
Final Thoughts
Using only Logic Pro X’s stock plugins, you can achieve clean, professional-quality rap vocals with these steps. And for even faster results, our exclusive vocal presets and templates take the guesswork out of each step, letting you dial in that crisp, polished sound in minutes. Try these tips and let your rap vocals stand out like never before!


